This is my Kimono no Obaachan (Kimono Grandmother), Eiko-san. Here you can see the two of us. If you want an idea of how tiny my Kimono Granny is, I am only five feet tall! She's so cute 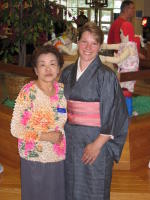 and sweet and she is extremely outgoing, which is a bit unusual in a Japanese person, especially an older one. She and her family run Aizawa Costume shop, where they provide rental kimono for weddings, funerals and other formal occassions. Eiko-san is a licensed, professional kimono dresser (this entails formal study and passing a practical exam or exams). Many Japanese rent kimono for such occassions, since a bridal kimono and all the accessories cost several thousand dollars. Yes, several thousand. Eiko-san has been very gracious and generous in teaching me how to wear kimono. Many Japanese cannot dress themselves in kimono and have to pay a professonal like Eiko-san to dress them. Some attend Kimono Schools to learn how to dress in kimono. There are several such Kimono Schools in Misawa and I don't think they are cheap. Eiko-san shows me for free and she buys me coffee. In exchange, I buy ridiculous numbers of kimono, so it works out well for both of us. We've become friends, despite her limited English (No! No! No! Wrong!) and my limited Japanese (Hai, Hai, Hai, Moiikai--Yes, yes, yes, I will do it over).
 and sweet and she is extremely outgoing, which is a bit unusual in a Japanese person, especially an older one. She and her family run Aizawa Costume shop, where they provide rental kimono for weddings, funerals and other formal occassions. Eiko-san is a licensed, professional kimono dresser (this entails formal study and passing a practical exam or exams). Many Japanese rent kimono for such occassions, since a bridal kimono and all the accessories cost several thousand dollars. Yes, several thousand. Eiko-san has been very gracious and generous in teaching me how to wear kimono. Many Japanese cannot dress themselves in kimono and have to pay a professonal like Eiko-san to dress them. Some attend Kimono Schools to learn how to dress in kimono. There are several such Kimono Schools in Misawa and I don't think they are cheap. Eiko-san shows me for free and she buys me coffee. In exchange, I buy ridiculous numbers of kimono, so it works out well for both of us. We've become friends, despite her limited English (No! No! No! Wrong!) and my limited Japanese (Hai, Hai, Hai, Moiikai--Yes, yes, yes, I will do it over).
After my lessons, Eiko-san makes me promise to practice at home. She's very serious about it, too. She even makes me pinky-promise! One day, after my lesson on tying obi, Eiko-san loaned me a mannequin to practice on since she was worried I would put my back out out if I constantly practiced on myself (mostly because I'm such a spaz). In addition, she explained itwould be good to learn to dress someone else. I also think Eiko-san was worried I would practice on Chris and he would get mad. So she lent me Karadako-san* to practice on! This was pretty tremendous, because the mannequin is from her kimono shop and mannequins are expensive! It was very sweet and I was honored she would trust me that much. While Karadako-san belongs to Eiko-san, all the obis and accessories you'll see on this page are from my own collection. No, these are not all of the ones I have, either. No, I do not have a problem. No, I do not. I can stop anytime I want. Really.
Here is what you need to don an obi, listed from the underlayers up:
OBIITA
A board used to flatten the stomach and keep the obi crisp and neat-looking
OBI
A wide belt of cloth, used to hold a kimono closed
OBI MAKURA
Literally, "obi pillow", a pad used to provide shaping for the bow of the obi
OBIAGE
A decorative scarf used to cover the OBI MAKURA
OBIJIME
A cord used to hold the folded obi together
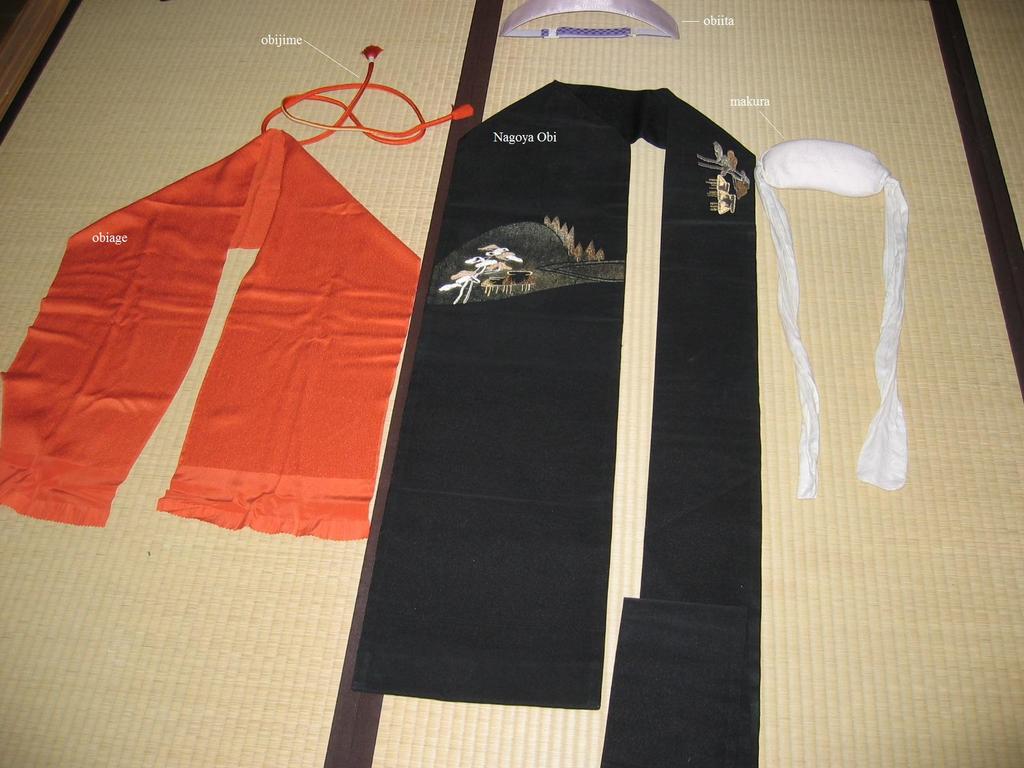
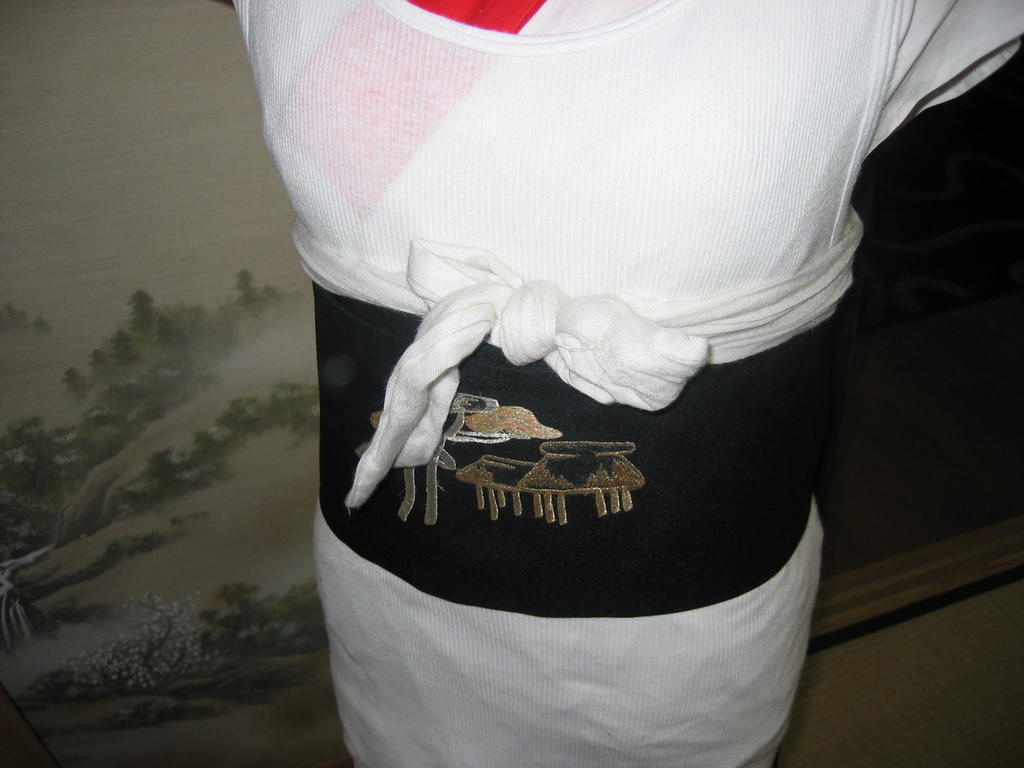
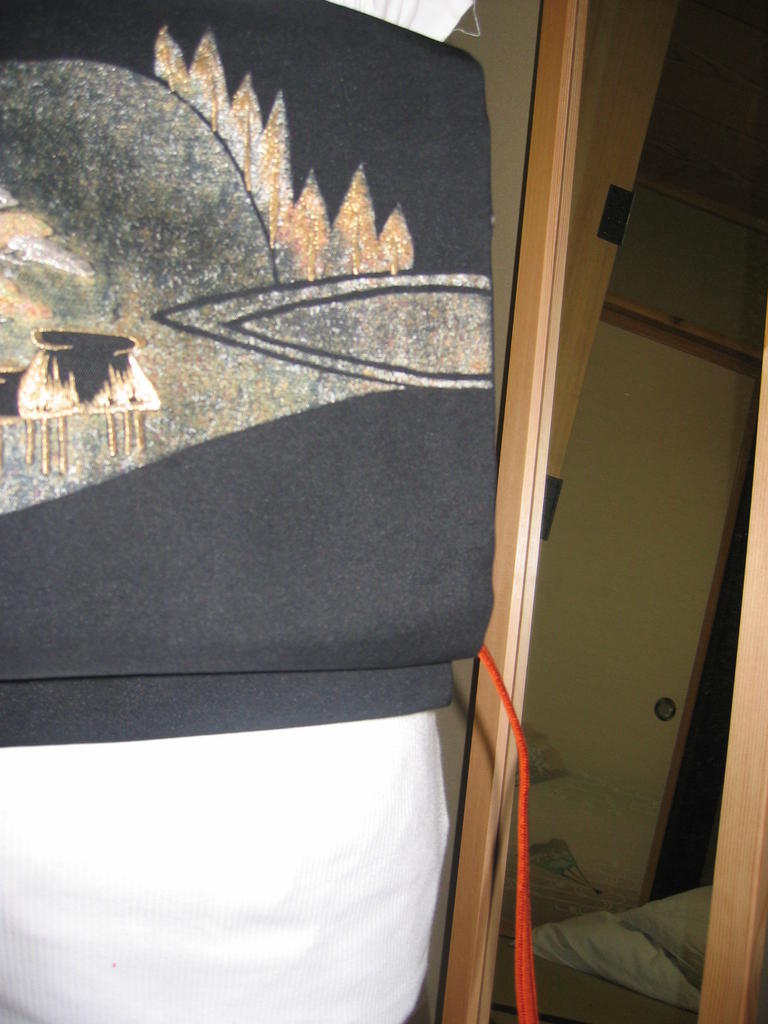
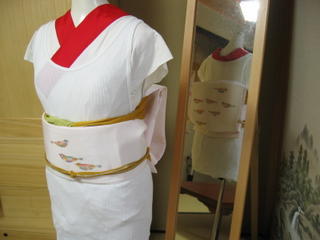
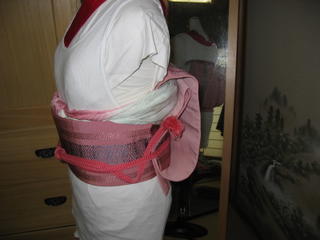
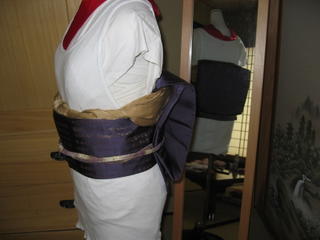
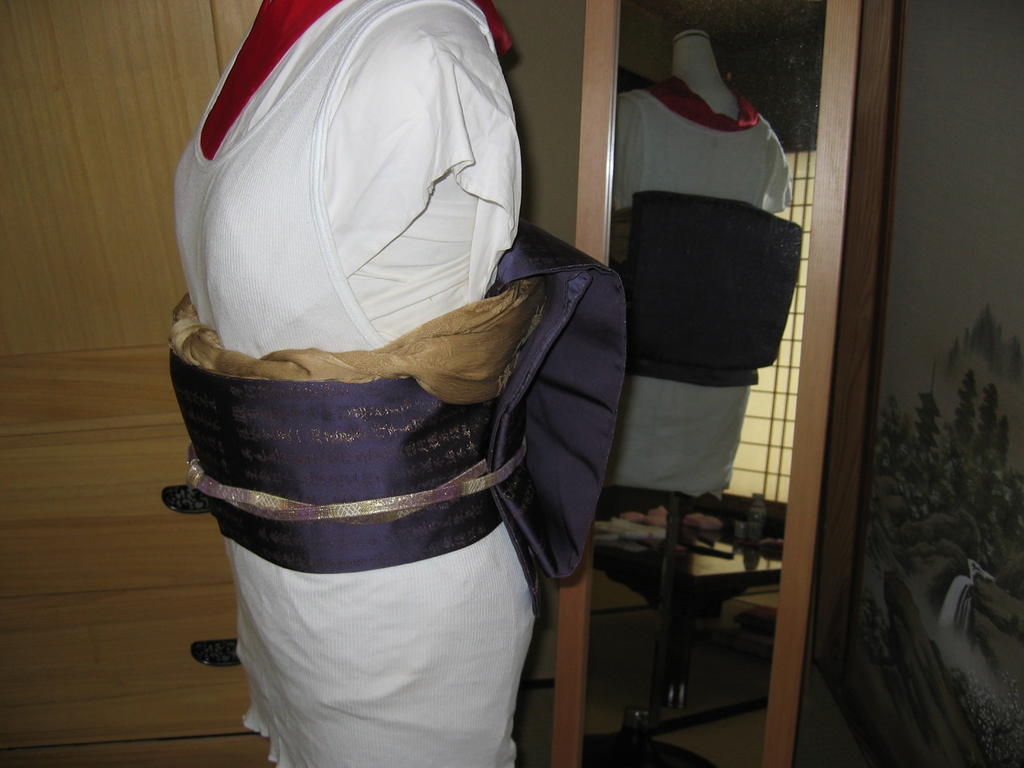
The obi pictured here are Nagoya Obi and the type of obi I have been practicing tying. Nagoya Obi were first produced in Nagoya, Japan (no duh!) at the end of the Taisho Period (1912 - 26). Most of my obi are modern, but I do have some Taisho Era obi, although they are not Nagoya style. The Nagoya Obi is lighter and simpler to tie than other types, making it very popular. The Nagoya Obi has a distinctive narrow portion, which is prefolded and stitched in half. This narrow part goes about the wearers waist. Sometimes the narrow part has a decoration, too, and some of my obis have this charming feature. The wider part of the obi forms the bow, also called Otaiko, of the obi. Obi come in a wide range of materials but are most often made from pure silk. There are between 300 - 500 ways of tying an obi! I have learned (but no where near mastered) but one way, which is called the Otaiko.
* * *
Here's what my practice looks like. I practice in my tatami room. I begin by selecting the obi and the obi accessories I want. I lay everything out within easy reach, like in the picture above.
I get Karadako-san, in her very Japanese wifebeater (I placed this over the mannequin to protect the cotton undergarment Eiko-san had dressed her in).
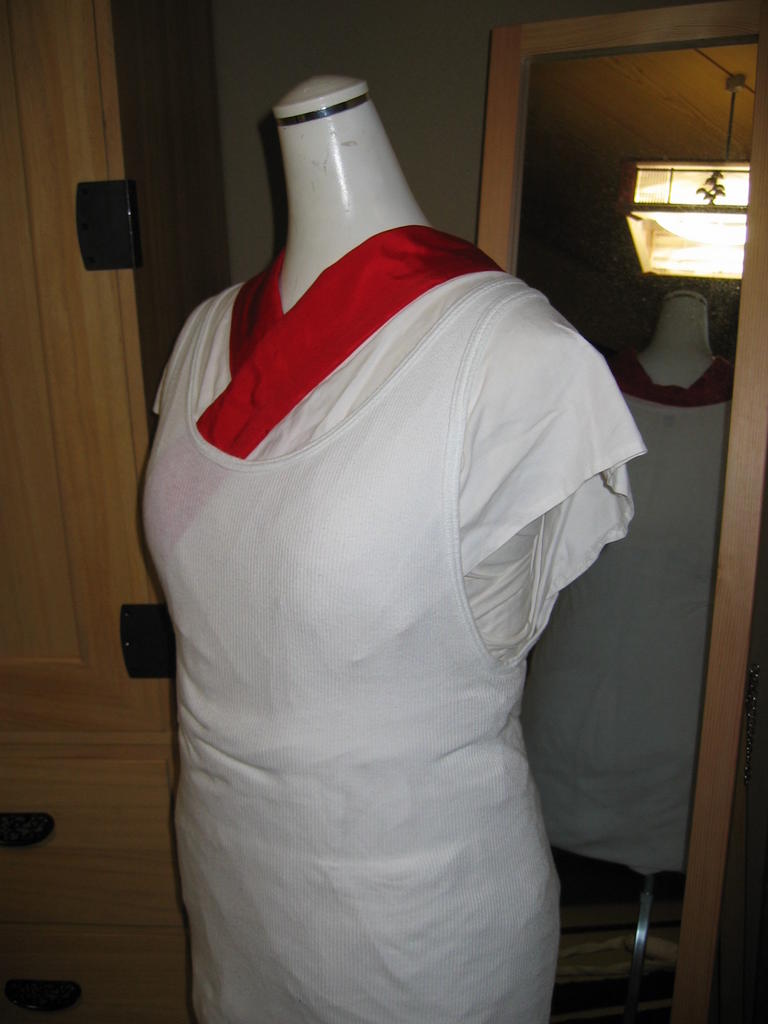 The obiita goes on. I have a kantan (easy) one, it has an elastic band. Some obiita are just boards without the band; you stick them into the obi after you do the first wrap around your waist.
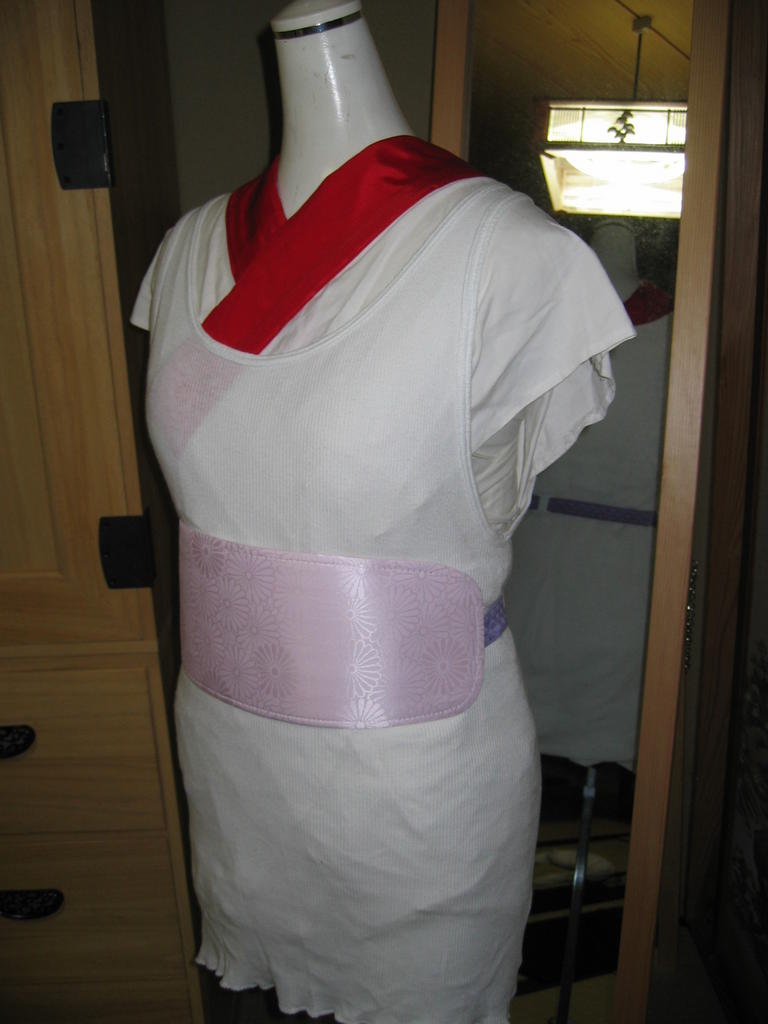 Then I drape the short section (te) over the left shoulder from back to front.
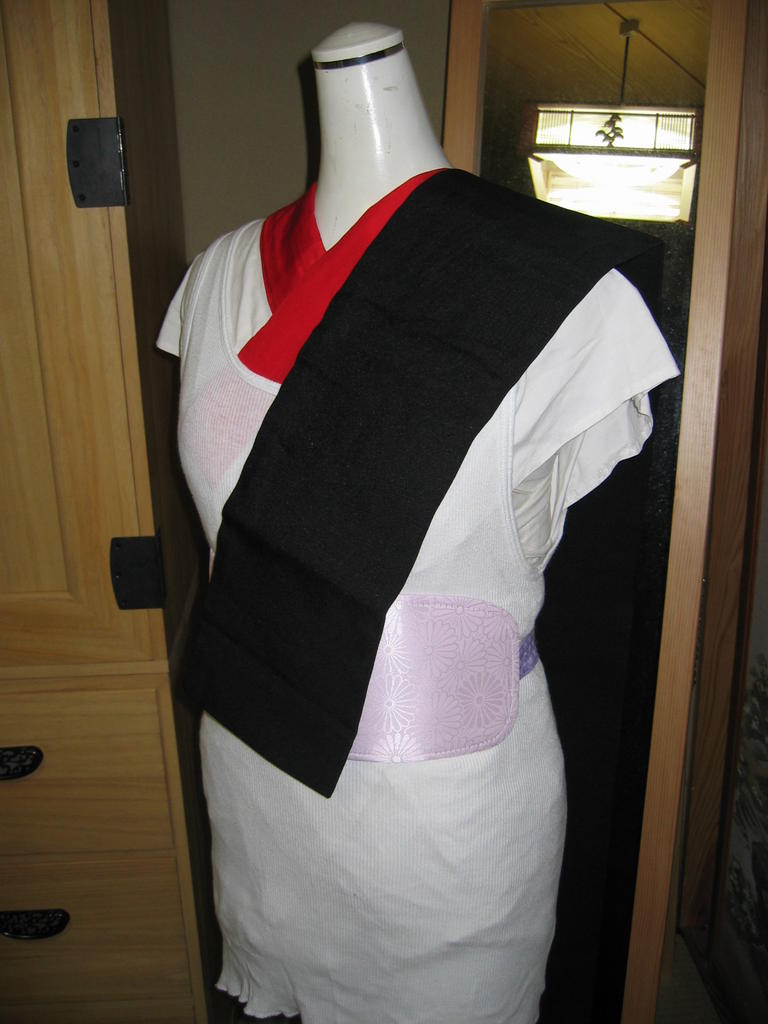 The long section (tare) of the obi is wrapped around the waist twice. Because this obi has a decorated tare, I have to ensure the decoration is nicely centered.
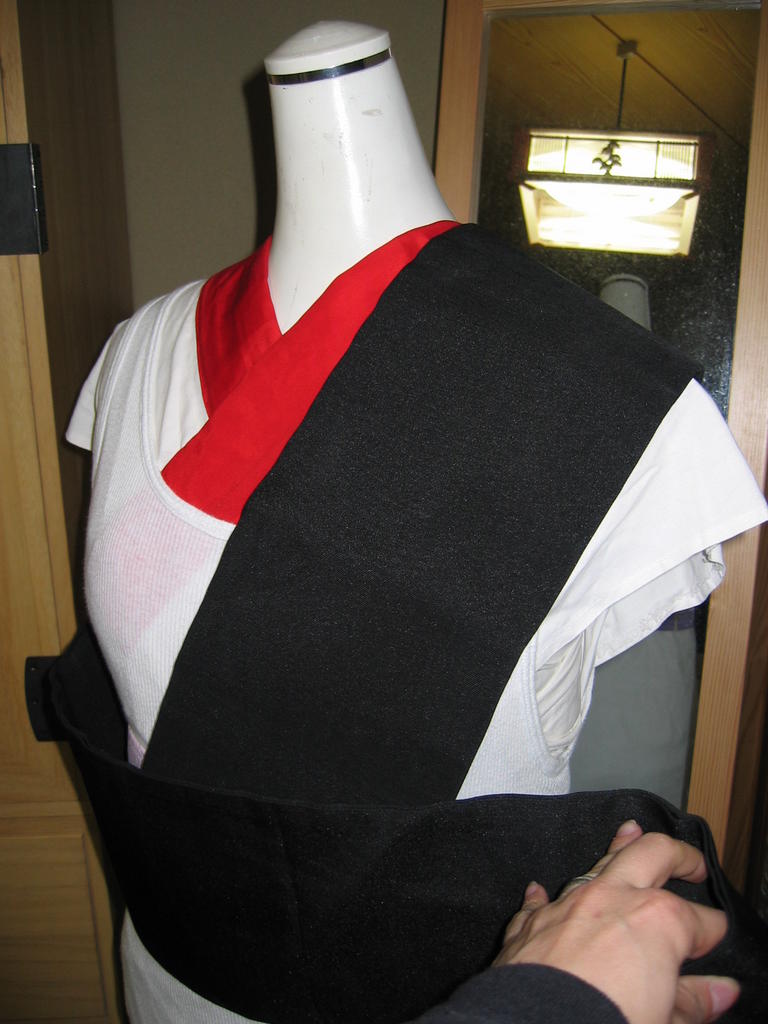
 Next, tie the obi and allow the tail section to drop down
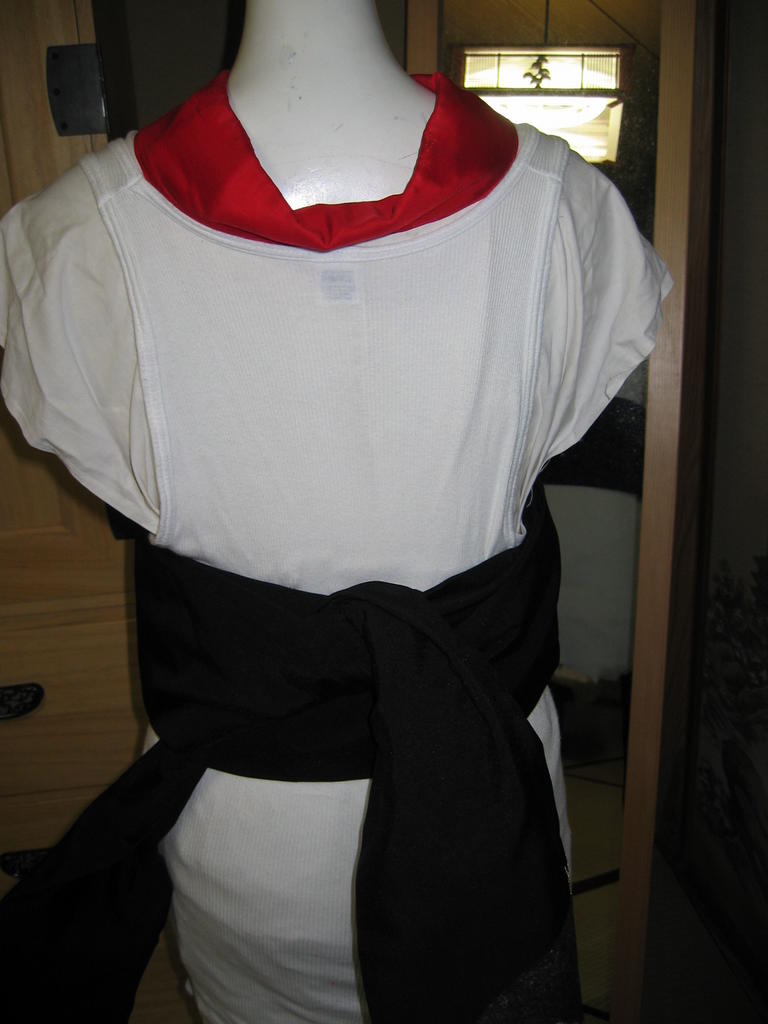 Then you pull the bow part out and smooth out the gathers from the knot
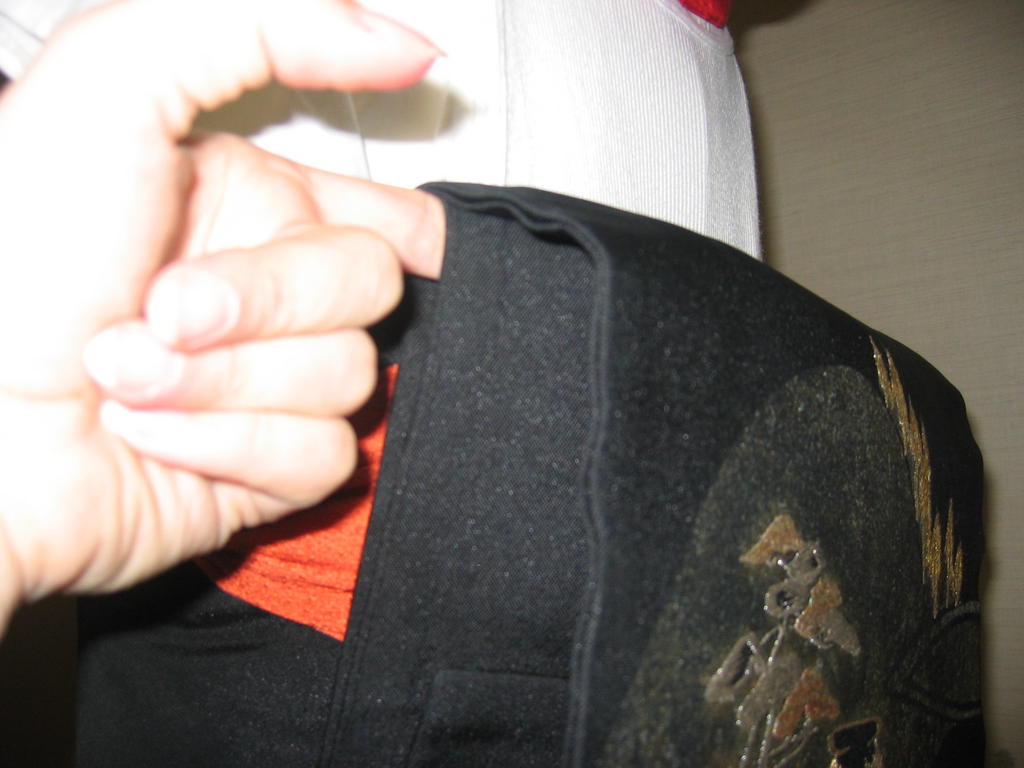
 You pick up the wide part and fold it, making sure that if there is a design, it is centered
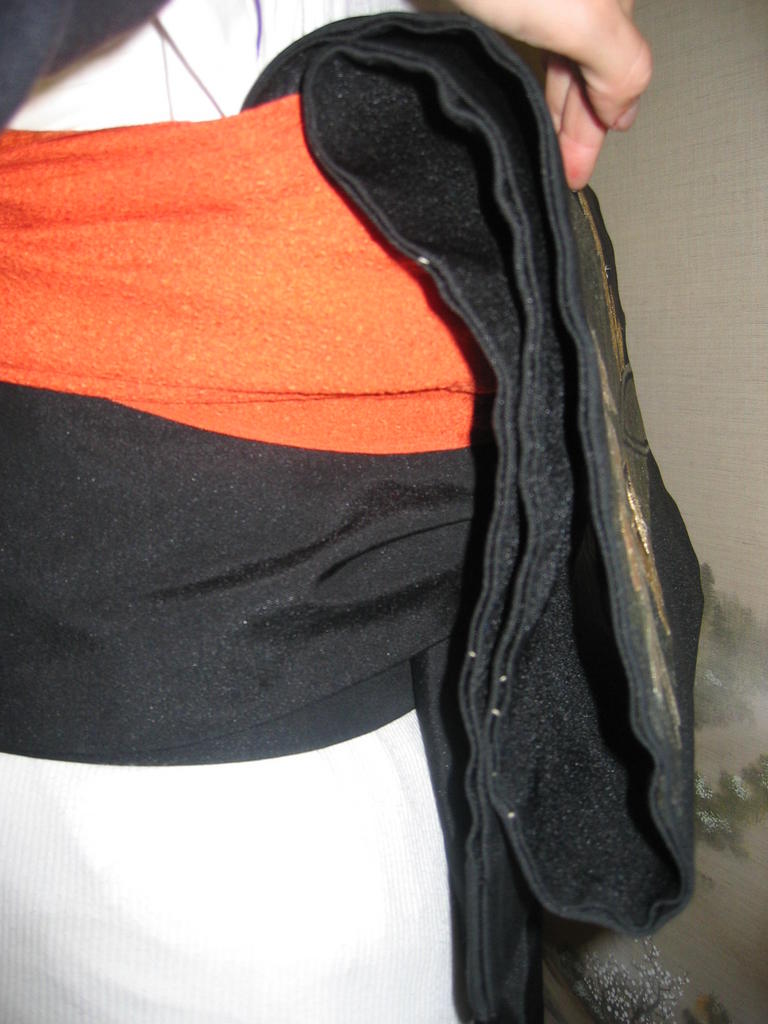
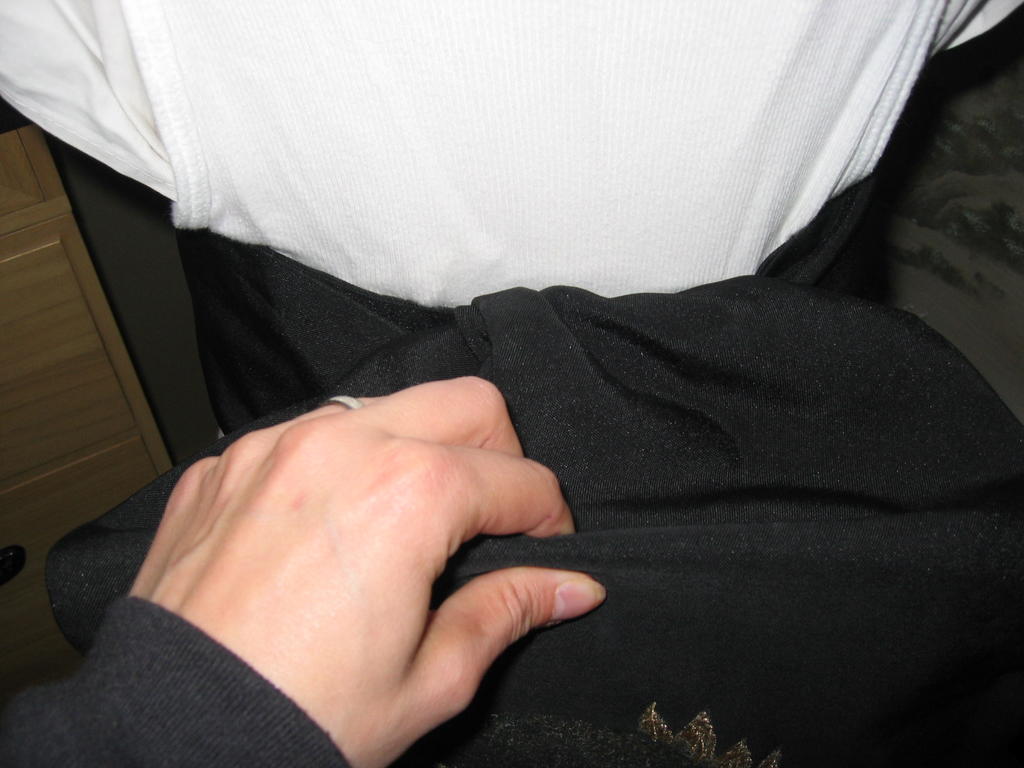 Then you insert the makura under the top fold and fasten it around the waist
 Tuck the ties into the obi
 Here is another view of what we have so far
 Cover the makura with the obiage, wrap around and tie in a temporary knot in front
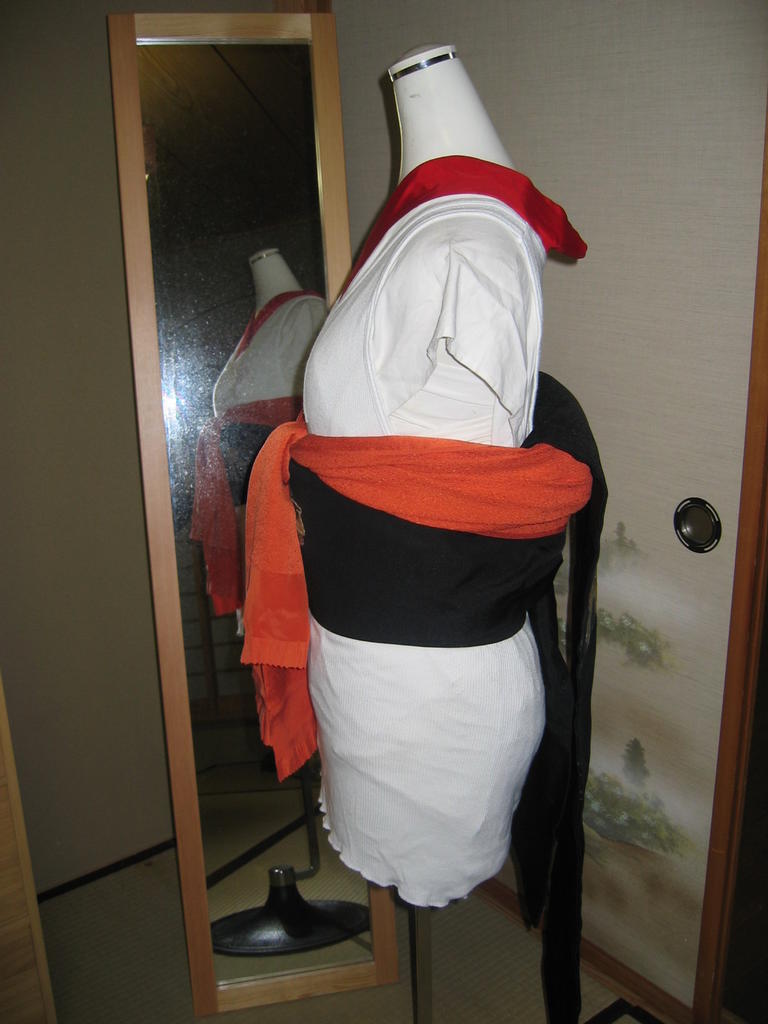
Fold up and under, making the drum part of the bow and hold it in place
note the te hanging down

 Now you pass the te through the drum,
being careful not to mash the drum all out of shape,
like I usually do

Pass the obijime through the drum and tie it in front
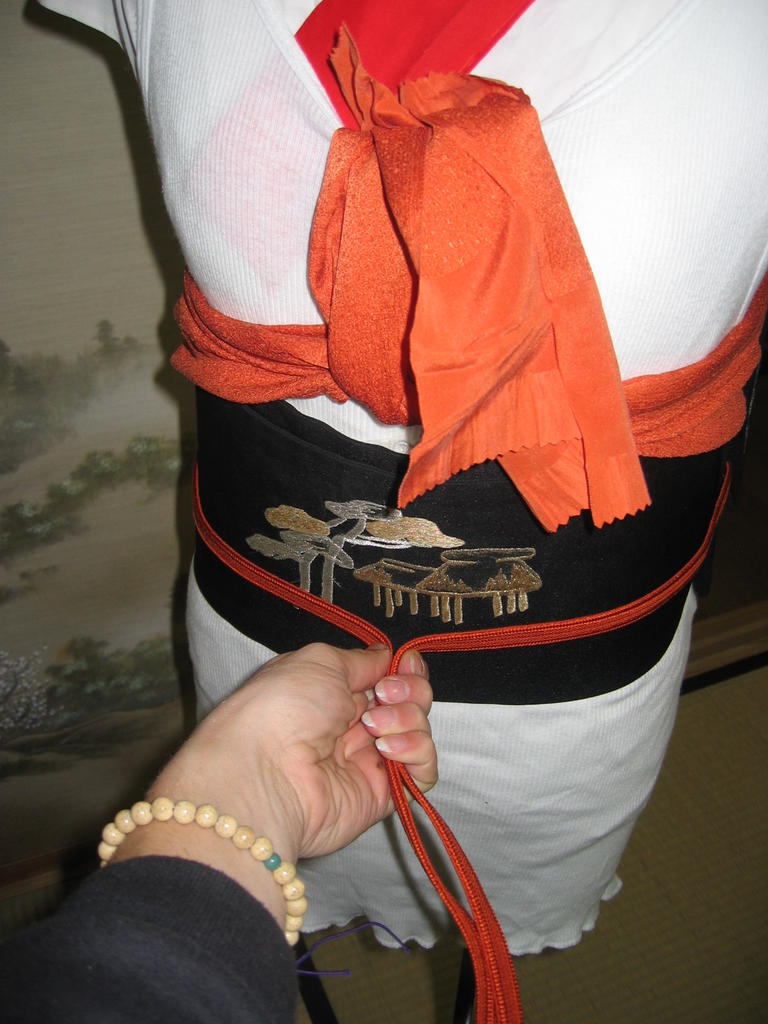 Tie it with a fancy knot, dumbass!
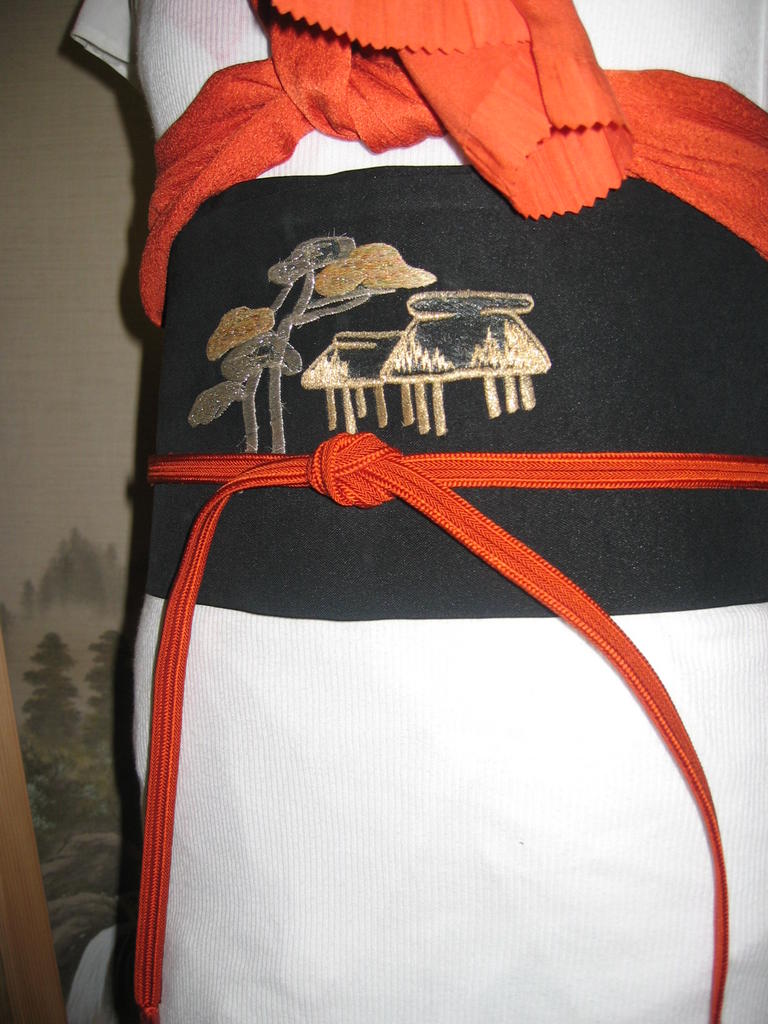 Adjust the obi and bow so that it has a lays flat and looks crisp,
this is accomplished by tugging or making the obi go (as Eiko-san says) "Fzzzpt!"
 Untie the temporary knot you made in the obiage, fold the edges in,
then tie a proper knot in it
 Adjust the knot until it looks just so and then tuck all of the obiage down into the obi
 Loop the loose ends of the obijime back into the obijime and
et voila, fini!
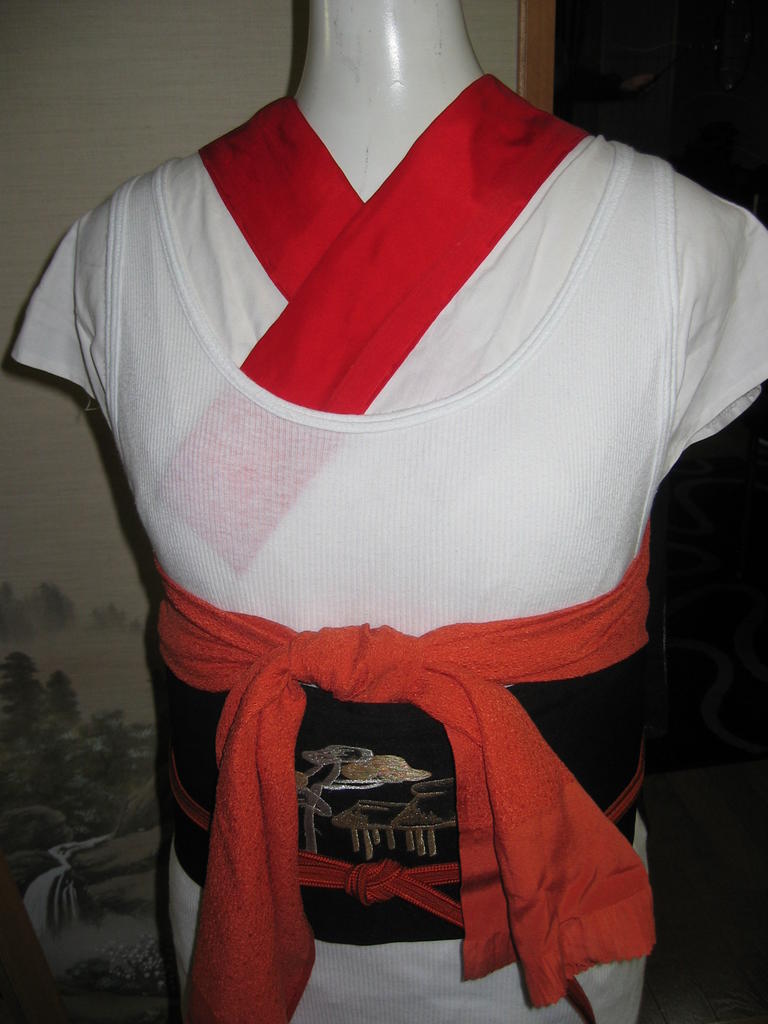
Admire the front
 Admire the back
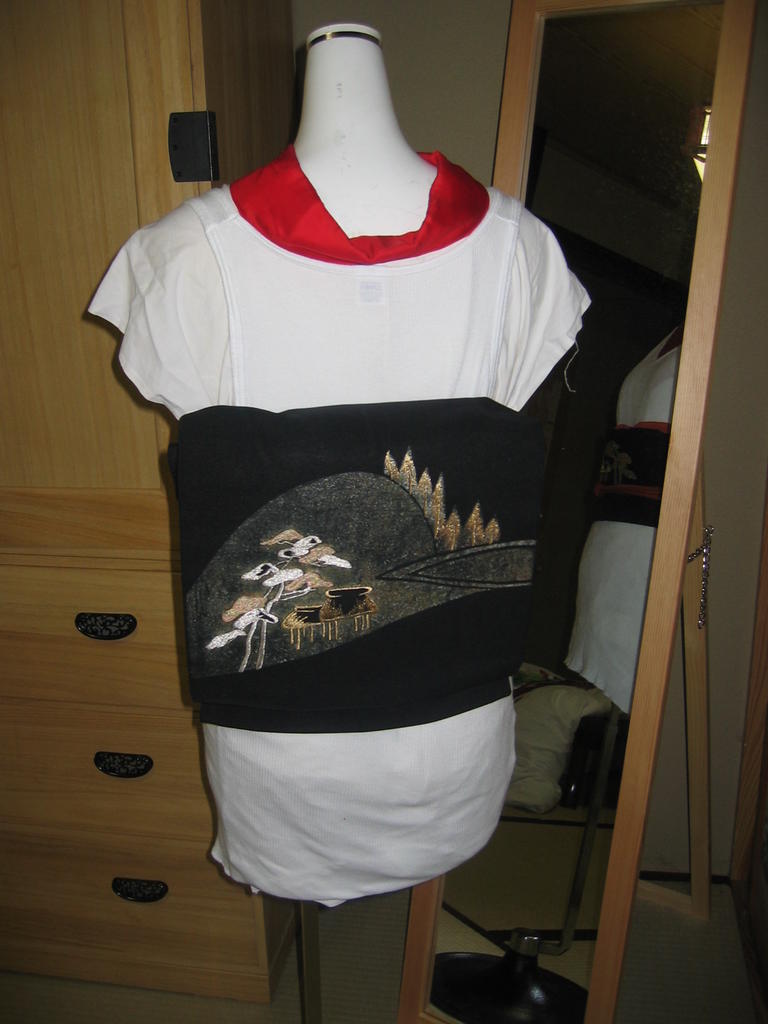 Realize there are ninety gazillion things wrong with this and take it all off and try again
And again
And again
And again
* * *
This is actually a brief synopsis of how to tie an obi. One of my reference books lists about 40 steps in the Nagoya Obi process. By the way, it took me about 20 minutes to tie the obi, with some of that time spent taking pictures. I have seen Eiko-san do a Nagoya Obi in about 5 minutes, if not less and it looks absolutely flawless! Gives me something to aspire to, I suppose.


*this is a silly joke-karada is the Japanese for body and -ko is a diminutive attached to girls' names. So I named the mannequin "miss body"
4 comments:
Cool tutorial! And did you know that this website http://www.northendkaratedo.com/Website/tying.htm used your pics for their "how to tie an obi" section?
^__^
Hi!!!
that's a ery nice tutoria, it helped me a lot!!! but...i have a question...where do you use the makura? i don't have one and y don't know where to buy it, so it'd be better if it isn't really necessary .
would you,please answer me? I'll be very grateful.
zanks!
Hey there! Really cute nagoya obi there. I'm a big fan of kimono mysef, so it's always nice to see someone else with an interest.
Just wanted to share an otaiko-tying tip I've learned from another website (Japan Culture Club, check them out sometime); to set the size of the drum neatly and avoid smooshing it when you put the tare in, tie a koshihimo through the bottom of the drum and along the bottom (just under it, in fact) of the tare where it wraps around your waist, with the knot in front. Adjust the drum to the right size, insert the tare, tie the obijime and remove the koshihimo. This enables the bottom of the drum to sit tight against your back and makes it look neater. Also, make sure the little 'trail' part of the drum extends the length of one index finger below the bottom of the drum. I hope some of this is helpful :)
Happy kitsuke!
Lovely kimonos! They are really beautiful!!! Can I get one of those near my furnished apartments in Buenos Aires ?
Thank you!
Post a Comment